
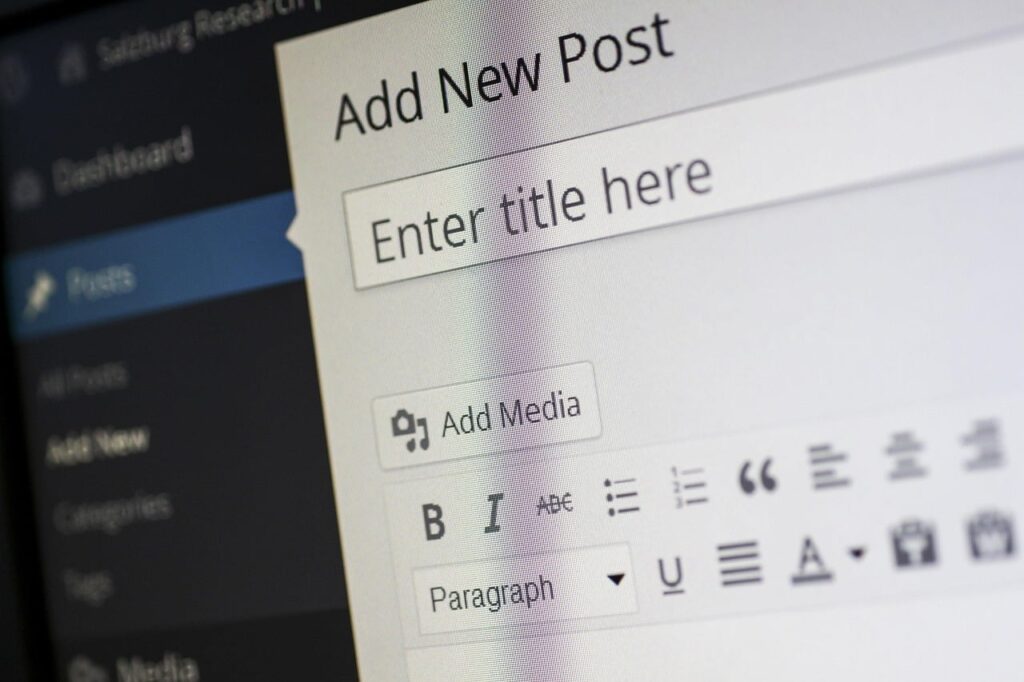
You've written the article. It reads well, it answers the question it set out to answer, and you're tempted to hit publish and move on to the next thing on your list. Resist that urge for another ten minutes. Most of the embarrassing mistakes that live quietly on business blogs for years (broken links, missing meta descriptions, images with no alt text, categories left as "Uncategorised") happen because nobody paused at this exact point. A short, repeatable pre-publish check costs you almost nothing and saves you from the slow drip of small errors that make a site look neglected. Here's what actually matters to check before you publish, and why each item earns its place on the list.
Key takeaways
- Check your title, slug, meta description and headings before publishing, not after, because fixing them later can affect how the page is already indexed.
- Read the article once purely for broken links, missing images and formatting glitches rather than content quality.
- Confirm every image has meaningful alt text and a reasonable file size, since this affects both accessibility and page load speed.
- Set the correct category, tags, featured image and publish date so the article sits properly in your site structure.
- Preview the article on both desktop and mobile layouts before it goes live, as WordPress themes can render content differently on each.
Start with the boring stuff: title, URL and meta description
It's tempting to treat the SEO fields in WordPress as an afterthought, something to fill in quickly after the article is finished. But these are the first things both readers and search engines see, so they deserve a proper look rather than a rushed one.
Your page title (the one in the browser tab and search results, not necessarily your on-page heading) should describe what the article delivers, ideally including the main phrase someone would search for. Keep it readable. A title stuffed with keywords reads like it was written for a machine, and readers notice.
The URL slug matters more than people think. WordPress will often generate one automatically from your title, but it can end up long, messy or full of stop words. A clean slug like /what-to-check-before-publishing-wordpress/ is easier to share, easier to remember and easier for search engines to parse than one carrying every word from a twelve-word headline.
The meta description won't directly boost your ranking, but it's often the deciding factor in whether someone clicks your result over a competitor's. Write one or two sentences that honestly describe what the reader will get from the article. Don't promise more than the content delivers.
- Page title: clear, honest, includes the core topic.
- Keep the URL slug short, readable, no unnecessary stop words.
- Write the meta description as one or two sentences that match what the article actually delivers.
- Check these in WordPress's SEO plugin panel or Site Editor before publishing, not weeks later.
Sources: Documentation to Improve SEO | Google Search Central | Google for Developers
Read it again, but only for mechanical problems
Once an article is finished, most writers stop reading it as a reader and start reading it as its author, which means they skim past their own mistakes. Before publishing, do one pass with a narrow job: hunt for broken links, missing images, formatting glitches and anything that looks odd on the page rather than on the page.
Click every link you've added, including ones to your own site. Internal links break more often than people expect, usually because a page got renamed, merged or deleted after the link was added elsewhere. External links can go stale too. A link that worked when you wrote the draft might point nowhere six weeks later if you've been sitting on the article.
Check that every image has actually loaded in the WordPress editor, and that none are stretched, pixelated or cropped awkwardly by the theme. This sounds obvious, but featured images in particular have a habit of looking fine in the media library and then rendering strangely once the theme applies its own sizing rules.
Also look for leftover editorial notes. It happens to everyone: an unfinished note asking for an example or a comment left for a colleague that was never removed before publishing. A single read-through dedicated purely to catching this kind of thing is worth the ten minutes it takes.
- Click every link, internal and external, and confirm the destination still exists and is correct.
- Scroll through checking every image has loaded correctly and isn't distorted.
- Search the draft for placeholder text, editorial notes or unfinished sentences.
- Check headings are nested correctly (H2s under H2s, H3s under the right H2) rather than used purely for visual size.
Sources: WordPress Developer Resources | Developer.WordPress.org
Alt text and image details, properly done
Alt text is one of those small jobs that's easy to skip and easy to regret skipping. It exists primarily for accessibility, describing an image to someone using a screen reader, but it also gives search engines useful context about what an image shows. Neither purpose is served by generic text like "image1.jpg" or by stuffing the alt field with keywords that have nothing to do with the picture.
Write alt text the way you'd describe the image to someone on the phone who can't see it. If it's a photo of a laptop open to a content calendar, say that, rather than writing something generic or something keyword-heavy that doesn't match what's actually in the frame.
File size is worth a quick check too. Large, uncompressed images slow down page load, and slow pages frustrate readers and can affect how search engines assess your site. Most images for a standard blog article don't need to be enormous, high-resolution files. Compress before uploading rather than relying on WordPress or your theme to handle it for you, since not all of them do this automatically or well.
- Write descriptive, specific alt text for every meaningful image.
- Avoid keyword stuffing in alt text; describe what's actually in the image.
- Compress images before upload rather than relying on the theme to do it.
- Confirm the featured image displays correctly in both the post and any archive or category listing pages.
Sources: Documentation to Improve SEO | Google Search Central | Google for Developers
Categories, tags and internal structure
An article that's well written but filed under "Uncategorised" with no tags is still a missed opportunity. Categories and tags help readers find related content once they've finished the article in front of them, and they help you keep your own site organised as the number of articles grows.
Pick one or two categories that genuinely reflect what the article is about, rather than creating a new category for every single post. If you find yourself creating a brand new category just for this one article, it's worth asking whether it should instead sit inside an existing one.
It's also worth checking, before publishing, whether there's an existing article on your site that this new one should link to, or that should link to this one. A quick internal link from a highly relevant older article to a newer one keeps readers moving through your site rather than leaving after a single page, and it gives search engines a clearer picture of how your content relates together.
- Assign one or two relevant categories rather than inventing a new one for every post.
- Add a small number of specific tags rather than a long unfocused list.
- Look for at least one sensible internal link opportunity, either to or from an existing article.
- Avoid orphan pages: articles with no internal links pointing to them from anywhere else on the site.
Preview on desktop and mobile before you publish
WordPress themes don't always render content identically across devices, and a block that looks perfectly fine in the desktop editor can wrap awkwardly, overflow, or stack oddly on a phone screen. Most WordPress editors include a preview option that lets you switch between desktop, tablet and mobile views before the article goes live. Use it.
Pay particular attention to tables, embedded images with captions, and any custom blocks from your theme or page builder. These are the elements most likely to behave differently depending on screen width, and they're also the ones people are least likely to notice problems with if they only ever check the desktop view while writing.
If your site uses a staging environment or a preview link that isn't publicly indexed, this is also the moment to confirm the article renders correctly there before it goes to the live site, particularly if you've used any custom formatting, embeds or shortcodes that might not display the same way everywhere.
- Use the built-in preview to check both desktop and mobile rendering.
- Pay close attention to tables, image captions and any custom blocks.
- Check that the article doesn't visually break at common breakpoints (tablet width in particular).
- If using a staging site, confirm everything carries over correctly before publishing live.
Sources: WordPress Developer Resources | Developer.WordPress.org
Final checks: publish date, author and visibility settings
Last but easy to overlook: confirm the publish date and time are what you intend, particularly if you're scheduling the article for later rather than publishing immediately. It's a small thing, but a mistimed schedule can mean an article goes live at an odd hour or, worse, doesn't go live at all because the date was accidentally set in the past.
Check the author field is correct, especially on multi-author sites where the default can default back to whoever is logged in rather than the person who actually wrote the piece. Confirm the visibility setting is public rather than accidentally left as private or password protected, which happens more often than you'd think when drafts get shuffled between contributors.
None of these checks take long individually. Together, they take maybe fifteen minutes, and that's a small price for not having to quietly fix an article a week after it's gone live because nobody looked at it properly before it did.
- Confirm publish date and time, especially for scheduled posts.
- Check the author attribution is correct.
- Confirm visibility is set to public, not private or password protected.
- Do one final full read for typos now that formatting and links are confirmed.
Frequently asked questions
Does the meta description affect my WordPress article's search ranking?
Not directly. Search engines generally don't use the meta description as a ranking factor, but it strongly influences whether someone clicks your result once it appears in search listings, so it's still worth writing properly rather than leaving it blank.
Sources: Documentation to Improve SEO | Google Search Central | Google for Developers
How much does alt text actually matter for a small business blog?
It matters for two separate reasons. It makes your content accessible to people using screen readers, which is worth doing regardless of any search benefit, and it gives search engines useful context about what an image shows, provided the text is specific and accurate rather than generic or keyword stuffed.
Sources: Documentation to Improve SEO | Google Search Central | Google for Developers
Should I check an article again after it's already published?
It's still worth a quick look once it's live, since some rendering issues only show up on the published page rather than in the editor preview. But catching the main issues before publishing, rather than relying on a post-publish check, saves time and avoids the article sitting with errors for however long it takes you to notice.
Do I need a new category for every article I publish?
No. It's generally better to maintain a small, consistent set of categories that genuinely reflect the topics you cover, and to use tags for more specific detail. Creating a new category for each individual article tends to leave your site structure cluttered and harder for readers to browse.
Related resources
Image supplied by Pixabay